The purpose of this program is to enable you to take a portion of one of your images, loaded from a file, to make a repeating pattern as if it were viewed through a Teleidoscope, which is a kaleidoscope tube with an open end. For more on the background to tel/kaleidoscopes see the Wikipedia article: Kaleidoscope.
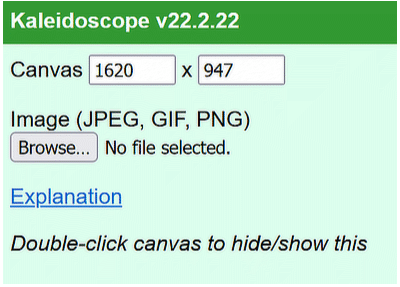
When you first display the page for our program you will see a dialogue as shown first on the right. The top row is showing the current canvas size for loading an image into and subsequently for plotting the pattern. To begin with the canvas is the available size of your display screen and you are shown that size, in pixels.
It is possible to make the canvas larger but when first using the program do not try that. First familiarise yourself with how the program works while simply filling the screen. We will come back to the canvas size adjustment later.
Your first step should be to browse for an image file and load it. Some browsers show "Browse.." on the button but others use different words.
If your image is larger than the canvas size it will be scaled down to fit. Do not be surprised to see a black area either to the right of your image or below it, depending on the aspect ratio of your image.
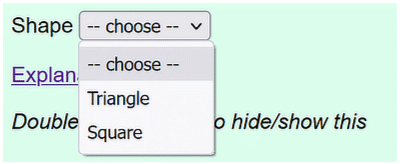
Once your image has loaded the dialogue gains a drop-down list as in the second image on the right. Select either a triangle (equilateral) or a square as the shape to be cut out of your image to make the pattern. This shape is like the open end of the teleidoscope. Imagine a tube with mirrors along its length on each of the sides of the shape.
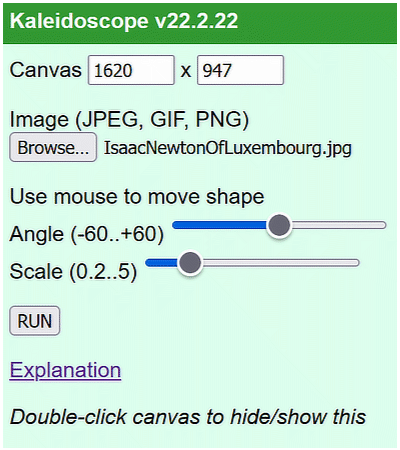
On selecting the shape it is drawn in white at the centre of the screen. You may then drag it to a different position and some controls are available to enable you to rotate and enlarge or reduce the shape. The controls are shown in the third picture on the right here.
When you are happy with the position of the shape click the RUN button. The portion of your image that lies within the shape will be cut out and repeatedly reflected to make a kaleidoscope pattern filling the canvas.
The simplest way to save the result is to double-click on the canvas to hide the dialogue and then use the "print screen" key to copy it to the clipboard. From there you can paste it into any photo processing program.
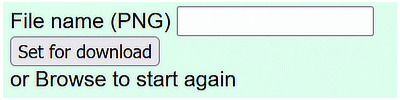
Alternatively we offer options for downloading the image as a PNG file, as shown in the fourth example on the right (again, wording may differ depending on which browser you are using). This process is cumbersome because of the important security arrangements in all browsers. You can name the file and it will end up in your default downloads directory but you will see that it is a multi-step process. Browsers require definite confirmation from the user when downloading to your file system.
Returning to the top row of the dialogue: you can enter different values for the width and height of the canvas. If you enter values smaller than the screen they will revert to full screen size. More usefully you can make a canvas that is much larger than the screen. You might well want to do this if you want a result that will print on a full sized page (A4 or even larger).
While you work on a large canvas part of it will be off-screen. So scroll bars appear enabling you to access all of it.
The full canvas can be saved as a PNG file in your downloads directory. From there you can use a photo program to convert to TIFF or JPG or whatever.